For now, this guide will be for Windows specifically. Later on it will list alternative Unix-style commands (e.g. for WSL, Ubuntu, and macOS).
Prerequisites
To get started with WebdriverIO, we first need an IDE (development environment), Node, and Java.
- Choose and install an IDE (recommended: vscode / Visual Studio Code)
- Install Node.js (check if you have it via
node -vin a command prompt) - Install the Java Development Kit (JDK) (check if you have it via
java -versionin a command prompt)
Create a test project
Let’s create a folder to work in and initialise a new Node project:
- Decide where to place your project (example:
C:\Node) and go there in a command prompt:cd\node - Decide a project name (example:
wdio-sandbox) and create it:mkdir wdio-sandbox && cd wdio-sandbox - Initialise the project:
npm init- Package name: just press Enter
- Version: just press Enter
- Description:
Sandbox for playing around with WebdriverIO - Enter point: just press Enter
- Test command:
wdio wdio.conf.js - Git repository: just press Enter
- Keywords: just press Enter
- Author: enter your first and last name
- License: just press Enter
- “Is this OK?”: just press Enter
If you make a mistake, you can start over entirely by using rm -r wdio-sandbox to delete the directory and all its contents. This is a
command to be careful with.
Now open the folder you created in your IDE.
You should see it only includes a package.json file at this point.
Install WebdriverIO
Now we install WebdriverIO itself, specifically the command line tools (cli) including the test runner.
Switch back to your command prompt and execute:
npm i --save-dev @wdio/cli
Translation: Node package manager, install for me the @wdio/cli package and add it to the devDependencies section of package.json
Let's check if it was successful:
.\node_modules\.bin\wdio --version
If you get '.' is not recognized as an internal or external command, operable program or batch file., ensure you’re using forward slashes.
It should now return the version number of the wdio cli tools. This should also be shown in the package.json under devDependencies.
Configure WebdriverIO
Now we generate the wdio configuration file which we can then manually change.
.\node_modules.bin\wdio config -y
Open it up. Most interesting at this point are:
specs- Defines the location of your tests. You can put tests in this path once we start creating them, or change the path if you'd like to structure things differently.capabilities- Here we define the browser(s) we'll use to run the tests (Chrome, Firefox, and/or Internet Explorer).baseUrl- The domain to run the tests on, so you don't have to include it for every url you visit.framework / mochaOpts- Here we could set the assertion framework and BDD framework options, which will become relevant very quickly.
For now, just change the baseUrl value from http://localhost to any public url of your choosing. You can change this later when you're writing tests for a
different domain.
Create a test file
In your IDE, create a folder structure matching what you have in wdio.conf.js under specs. So if you kept the default, create a folder test
and within it a folder specs. Within that, we can add test files. Create a file called tutorial.js within the specs folder.
Run a test file
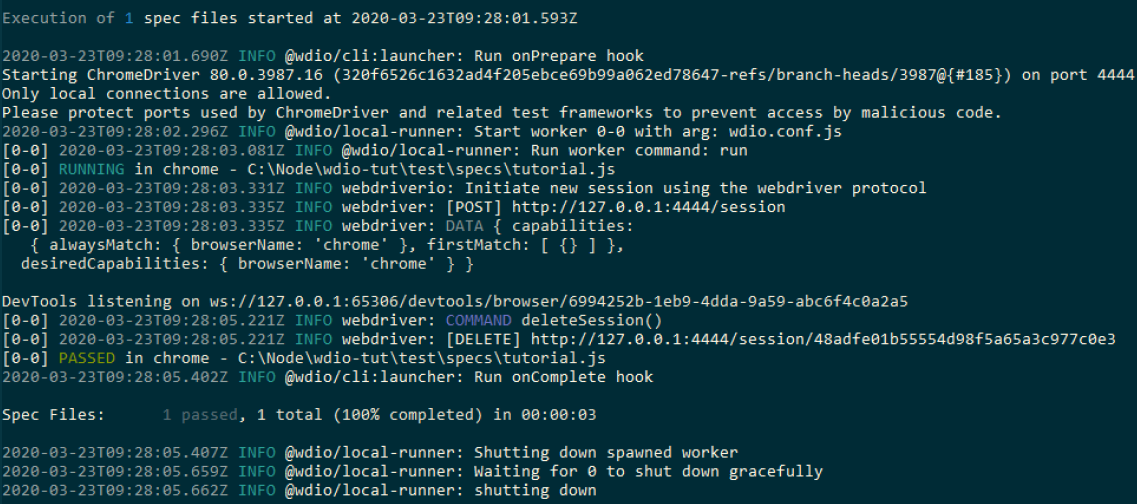
We can already try running the test suite now. What would we expect? We'd expect the test suite to run successfully, with 1 passed test (because it will count our empty test file without any tests as not having any failed assertions and therefore passing).
In a command prompt, run:
npm t
This is short for npm test, which will run whatever you have defined in package.json under scripts -> test. Earlier we defined this as part of the npm init process. If we hadn't done this, we would have to run tests by typing .\node_modules.bin\wdio wdio.conf.js every time. Later on we'll add another useful command to scripts to help solidify this notion of custom npm commands.
As output you see something like the following.

Now, let’s add an empty test to the test file. Open tutorial.js in your IDE and add:
const assert = require('assert');

describe('our test page', () => {
  it('should have a pending test', () => {

  })
})
Save it.
Switch back to a command prompt and run:
npm t
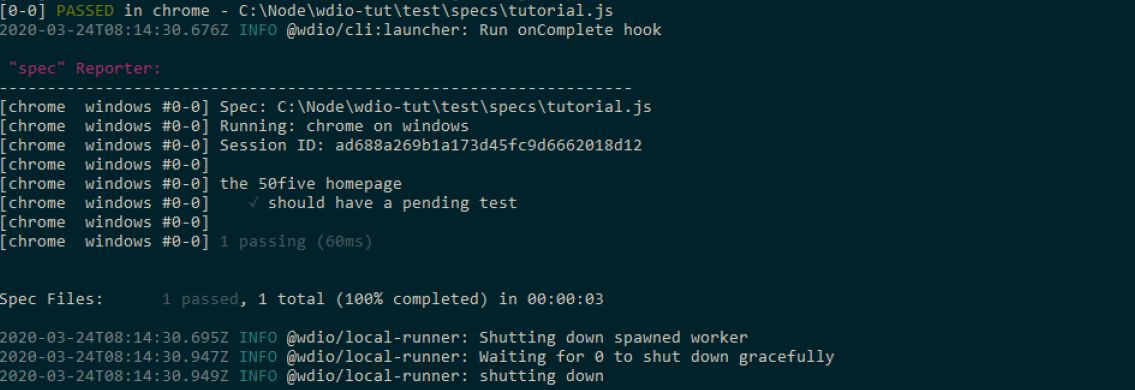
The output should now result in something like:

You can see the test runner still counts the test file as not having any failed assertions and therefore passing. That's one to look out for once you've got a test suite going, as you might think a test is passing whereas in reality it doesn't have any assertions.
We now have a development environment in place and an empty test.